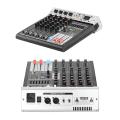
Details For ADM-GBR6 Audio Mixer
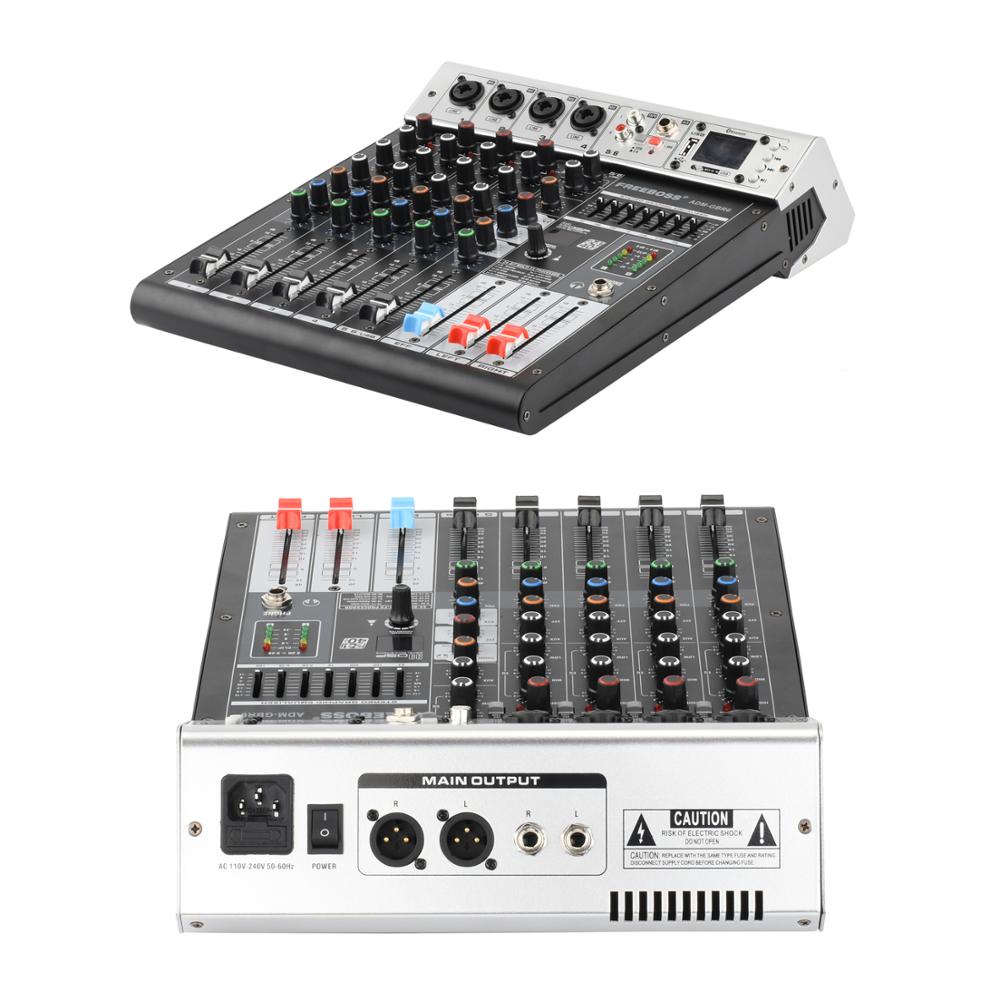
1. Fuse holder/IEC mains receptacle
1)Power supply: AC 110V-240V 50/60Hz
2) Fuse: Blown fuses must only be replaced by fuses of the same type and rating.
3) The console is connected to the mains via the cable supplied, which meets the required safety standards. The mains connection is made via a cable with IEC mains connector. An appropriate mains cable is supplied with the equipment.
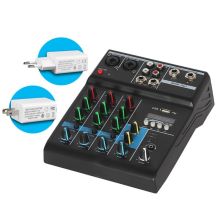
4) we supply EU Plug and US plug. If you need other plug, please tell us.
2. Power Switch
1) Use the POWER switch to turn on the mixing console.
2) The POWER switch should always be in the "Off" position when you are about to connect your unit to the mains.
3) To disconnect the unit from the mains, pull out the main cord plug. When installing the product, ensure that the plug is easily accessible.
3/4. Main out (L R Jacks )
These jacks deliver the mixer's stereo output.
You use these jacks, for example, to connect to the power ampllfier driving your main speakers.

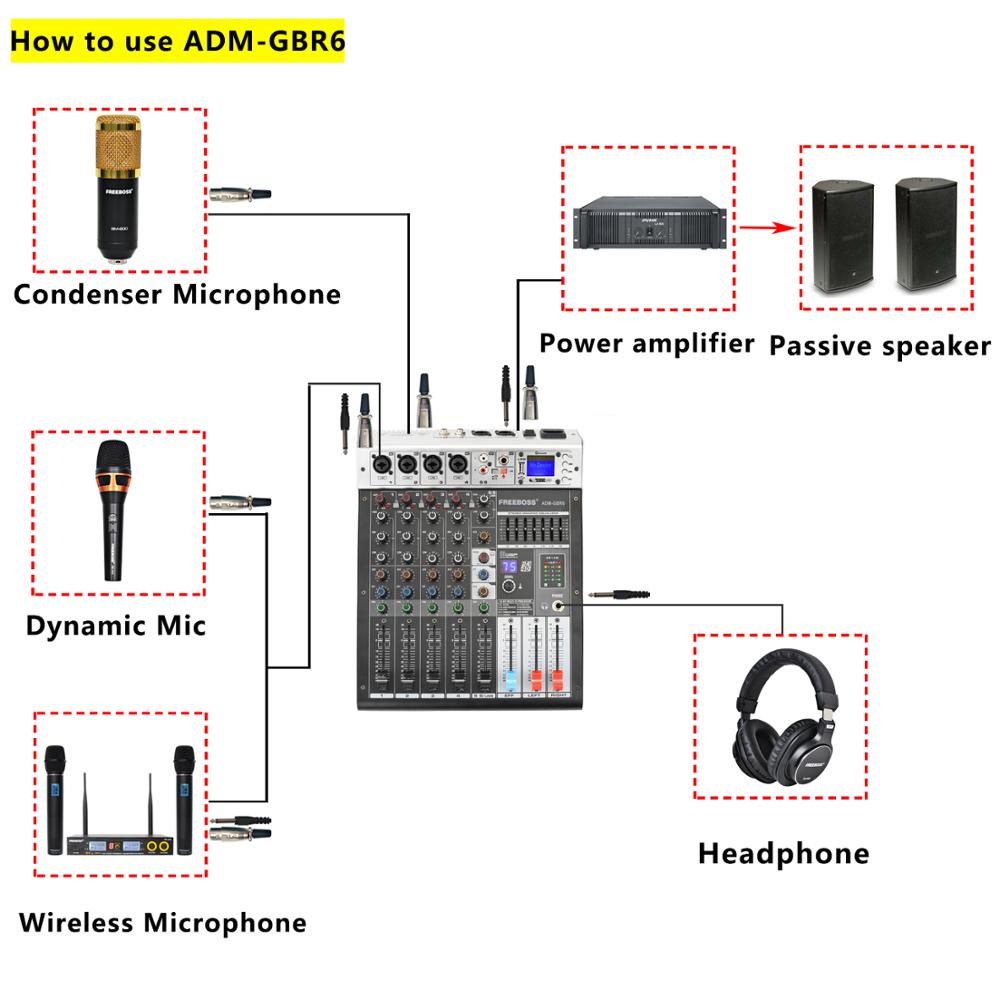
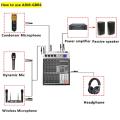
5. Balance input Lo-MIC/Unbalance Input Hi-Line
1) They are combination socket.
2) These are to be connected with microphone XLR Jack’s are used for the balanced signal.
3) These are to be connected with these line sources such as deck tuber turntable keyboard,etc.
6. Input Jacks (channel 5/6)
1) Unbalanced phone type and RCA pin type stereo line input jack.
2) These inputs are compatible with 600 ohm line level devices.
7. USB Input Switch
1) Pressed status is USB input.
2) Bounce status is Channel input.
8. AUX send
The AUX SEND jack should be used when hooking up a monitor power amp or active monitor speaker system. The relevant aux path should be set pre-fader.
9. +48V Phantom power Switch
1) Turn the phantom power on/off for all channels,
2) Turn the switch on when you are using condenser microphone. +48V DC power is supplied to pin 2 and pin 3 of the XLR type.
3) Phantom power is not required, make sure the switch is off.
10. +48V phantom power led indicator light
When you turn on the +48V phantom power, the led indicator light will be on. If you turn off the power, the light will be off.
11. Gain
This has a function which adjusts the input sensitivity of each channel in order to input the constant level of the signal.
12. Peak Light
If this light is on for a long time, it means that the input signal is too large. Need to turn down the gain knob for this channel.
13. Pad Switch
Cut down the signal sensitivity of each channel 20dB