Features:
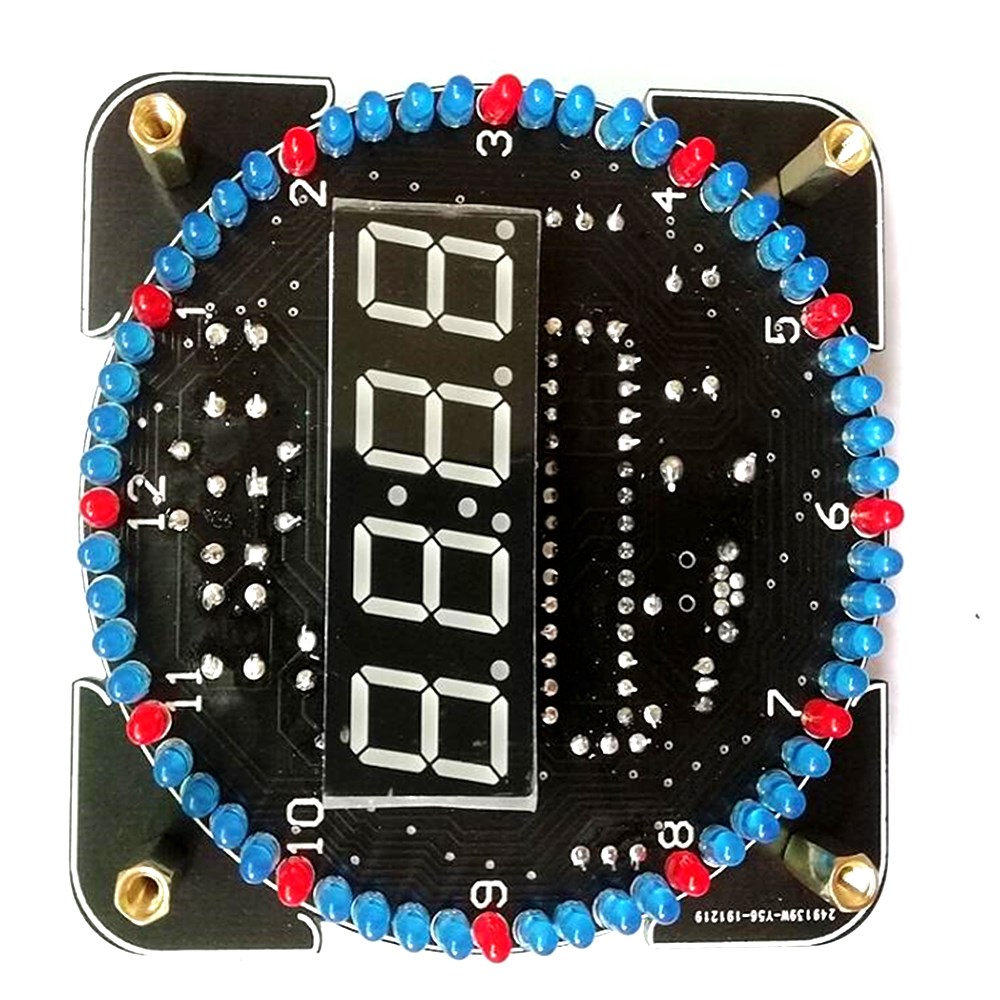
1. Designed with digital tube display principle;
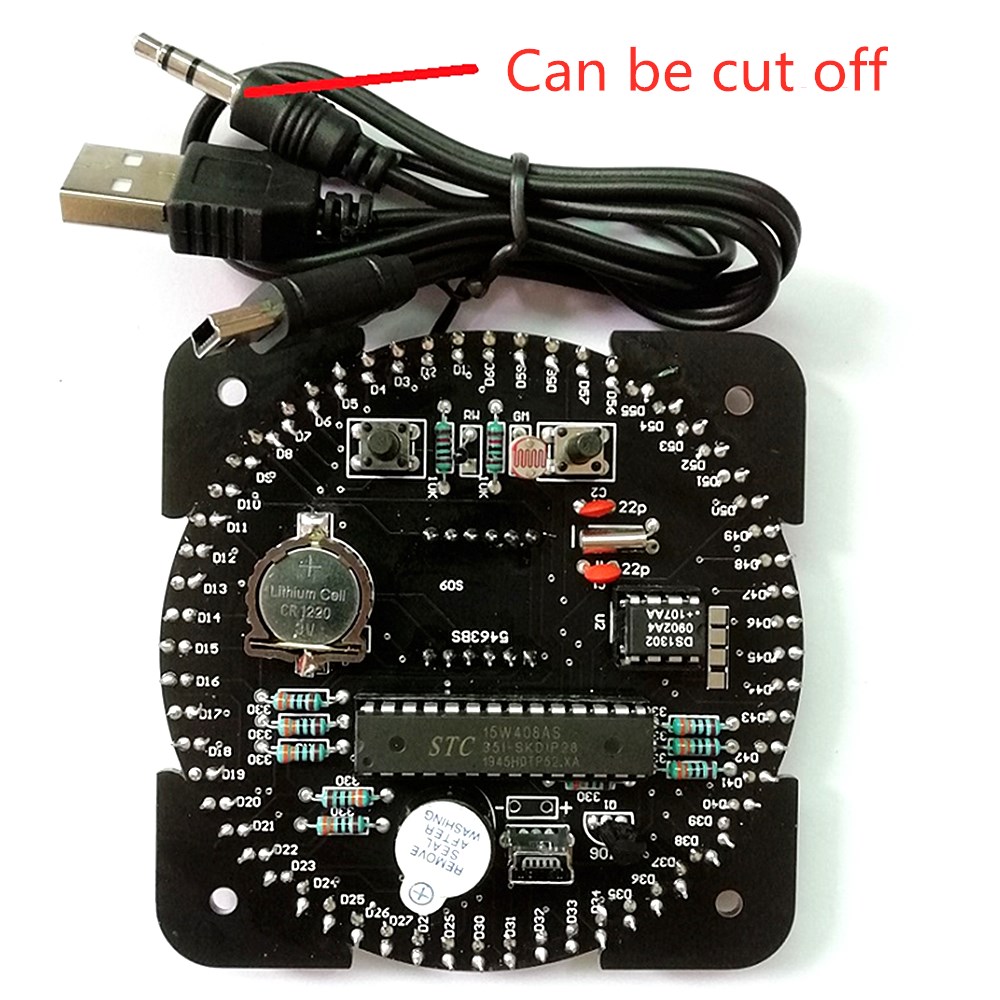
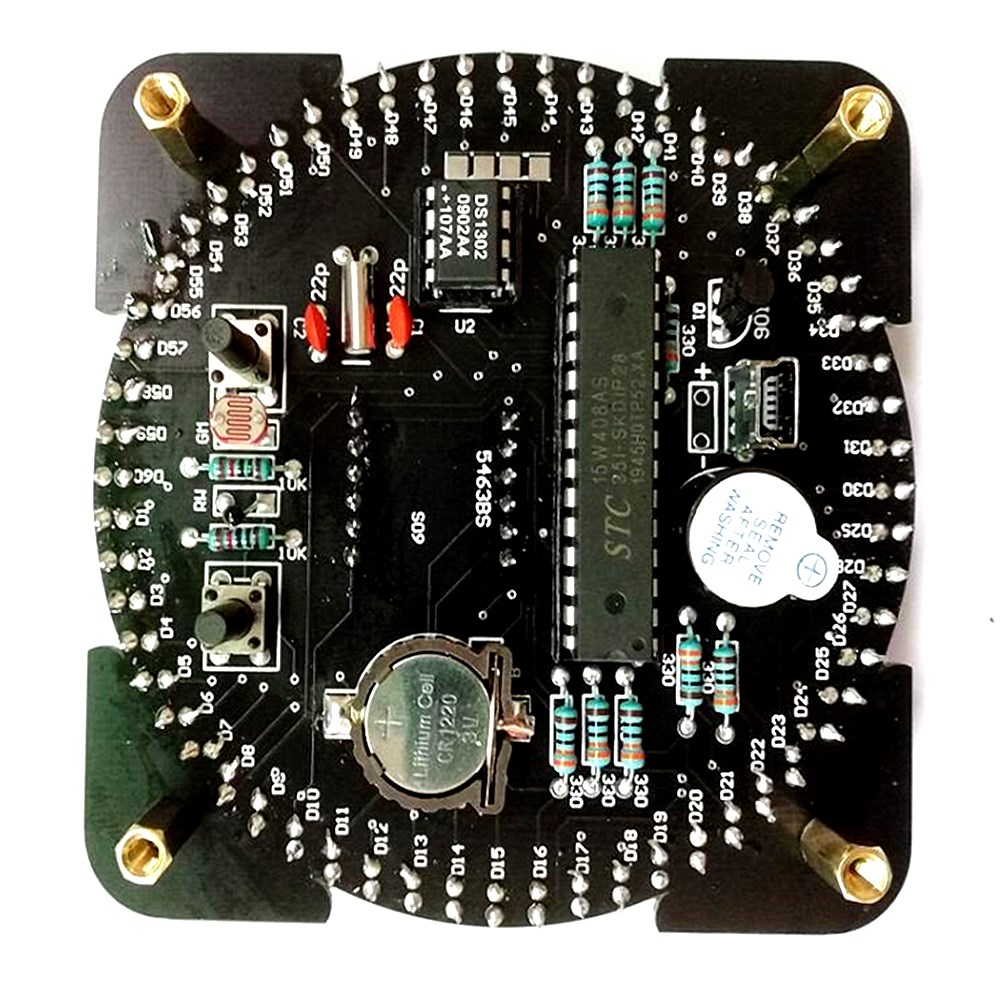
2. Adopt full plug-in component design, the production success rate is as high as 99.9%;
3. Designed with digital tube display principle;
4. Six kinds of time animations make you never get bored;
5. Seven kinds of offline animations, it is also good to give away;
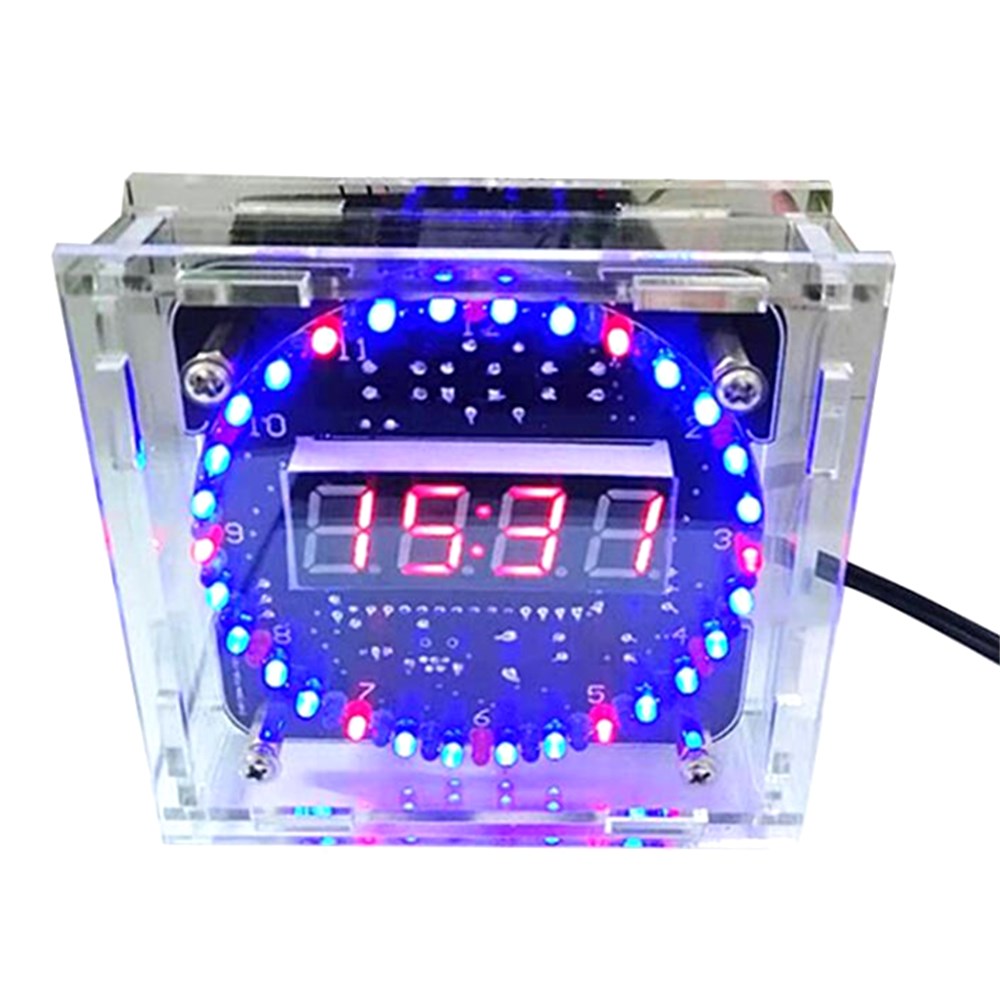
6. Time and temperature are displayed alternately, so you don't have to always look at your phone anymore when you look at temperature and time!
7. Bring an alarm clock all the way to remind you that you can no longer get up;
8. With light control function, it can automatically adjust the brightness according to the environment (it can also be used as a night light);
Key function description:
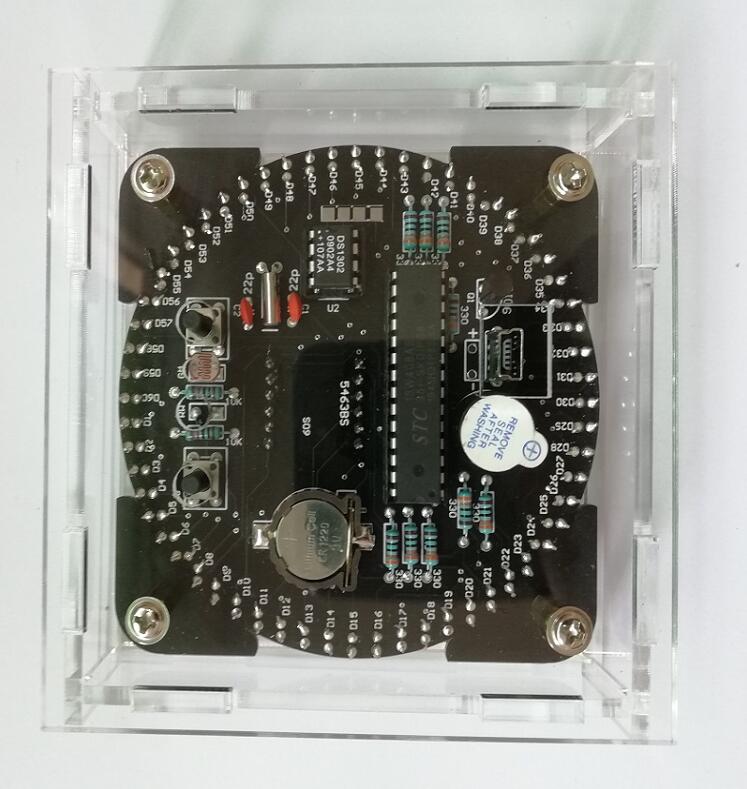
Only 2 buttons are needed to realize all the above functions! ! One mode key (S1) and one addition key (S2).
1. Addition key: corresponding to the S1 key on the board, you can add time, alarm, light control, and rotation modes. Press once to add 1 to the value.
2. Mode key: corresponding to the S2 key on the board, you can switch to the setting state when the clock is displayed
Uses: The finished clock can be used as desktop art ornaments in homes, schools and companies. Clock parts are suitable for electronic enthusiasts and practical training kits for colleges and universities.
DIY
1. Pattern selection (under the time display interface): Press button ① to switch the next led rotation style; 2. Adjust settings (under the time display interface): 1. Press the button No. ② to enter the setting time minutes. At this time, the display area No. 2 flashes, indicating that the minutes can be set. At this time, press the button No. ① to set the time minutes; 2. Press button ② again to enter the setting time. At this time, the display area No. 1 flashes, indicating that the time can be set. At this time, press button ① to set the time; 3. Press button ② again to enter the setting of alarm clock minutes. At this time, the display area of No. 2 flashes, indicating that the alarm minutes can be set. At this time, press button ① to set the alarm minutes; 4. Press the ② button again to enter the setting of the alarm clock. At this time, the display area No. 1 flashes, indicating that the alarm can be set. At this time, press the ① button to set the alarm clock; 5. Press the ② button again to enter the setting of the alarm clock on and off. At this time, the display area of 1. 2 displays 1 or 0. At this time, press the button ① to turn on or off the alarm. 1 is to open, and 0 is shut down; 6. Press button ② again to enter the setting of light control on and off settings. At this time, the display area of 1. 2 displays 1 or 0. At this time, press button ① to turn on or off the light control. 1 is on. 0 is off;

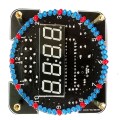
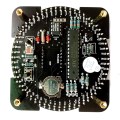
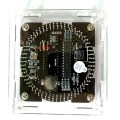
Finished board display
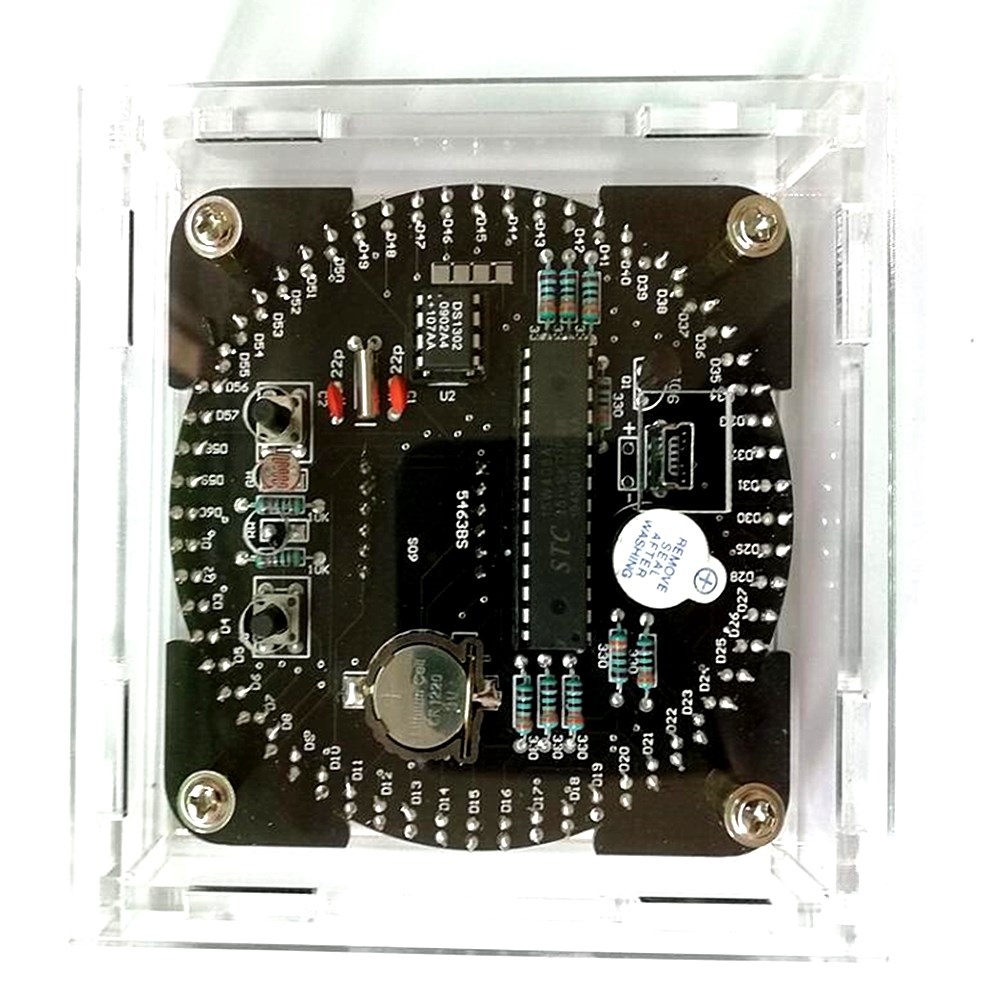
Installation Notes:
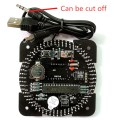
Step 1: The circuit board is fastened with four screws on the top and bottom of the copper screw, and then tightened with 4 screws on the front.


Step 2: Enclose the 4 side panels and cover the screws on the back.
Parts List: