0 Piece,Product Price: US $ 0
| Quantity(Piece/Pieces) | 1 ~ 1000 | >1000 |
| Est. Time(days) | 7 | To be negotiated |
If you finish the payment today, your order will ship out within the delivery date.
↓↓↓ 2016 New, Click below picture to know more ↓↓↓


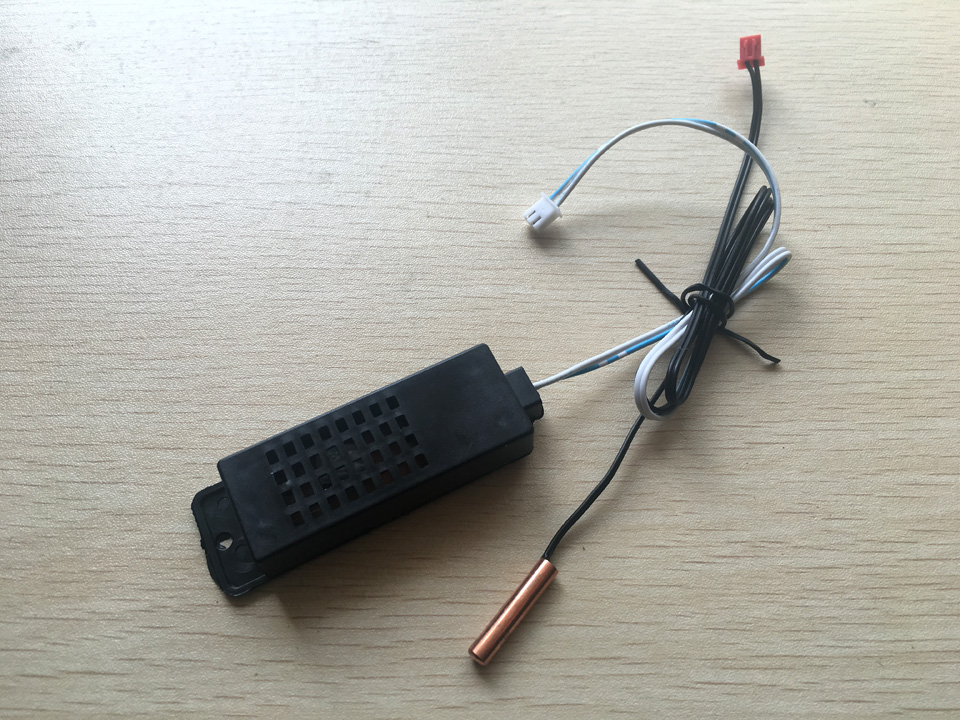
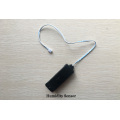
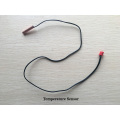
Temperature Humidity Sensors for Egg Incubator YZ8-48, YZ-48AB, YZ-96AB
-Package include:
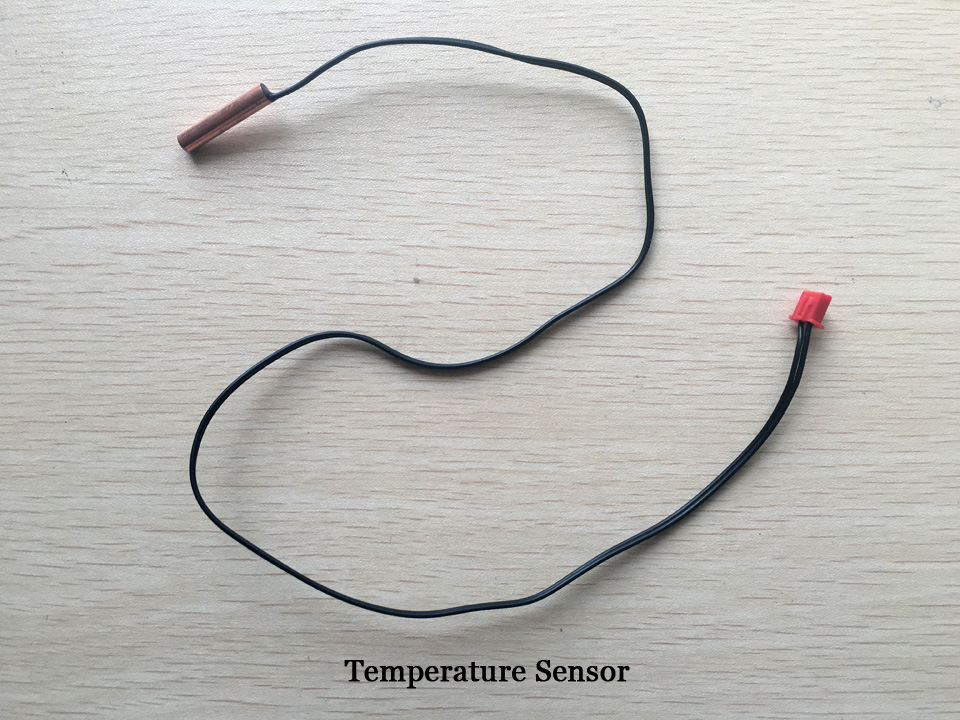
Temperature sensor probe*1
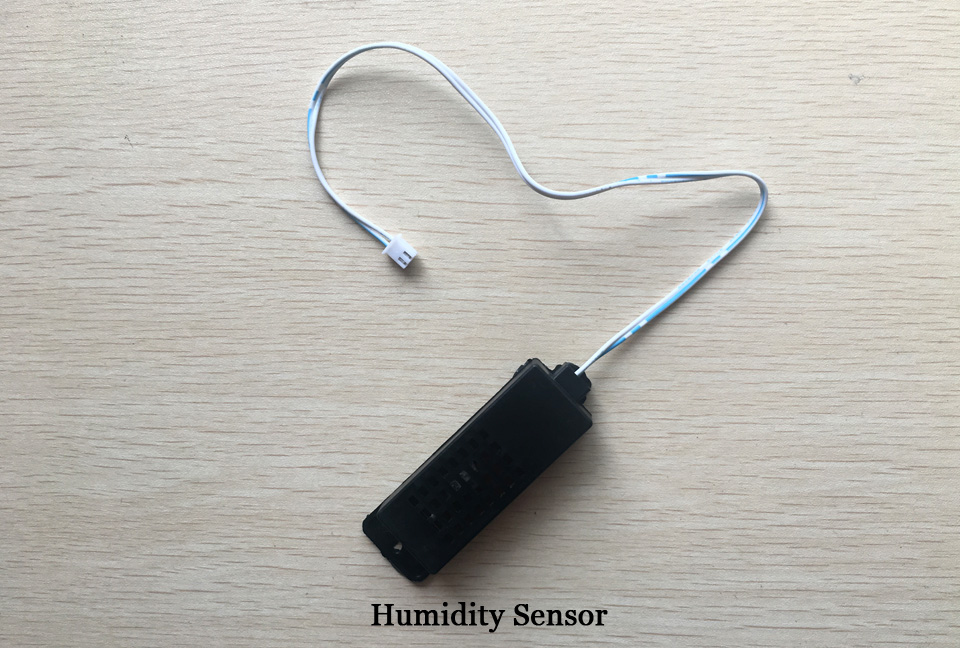
Humidity sensor probe*1


About us.
We are HHD Incubator Manufacturer, professional egg incubator manufacturer since 1995.
Main products are: mini egg incubator for home used(capacity 7-154 pcs eggs), industrial egg incubator (capacity 352-22000 pcs eggs), egg incubator spare parts, plucker machine, ploutry freeders, etc.
We are focus on your satisfaction.
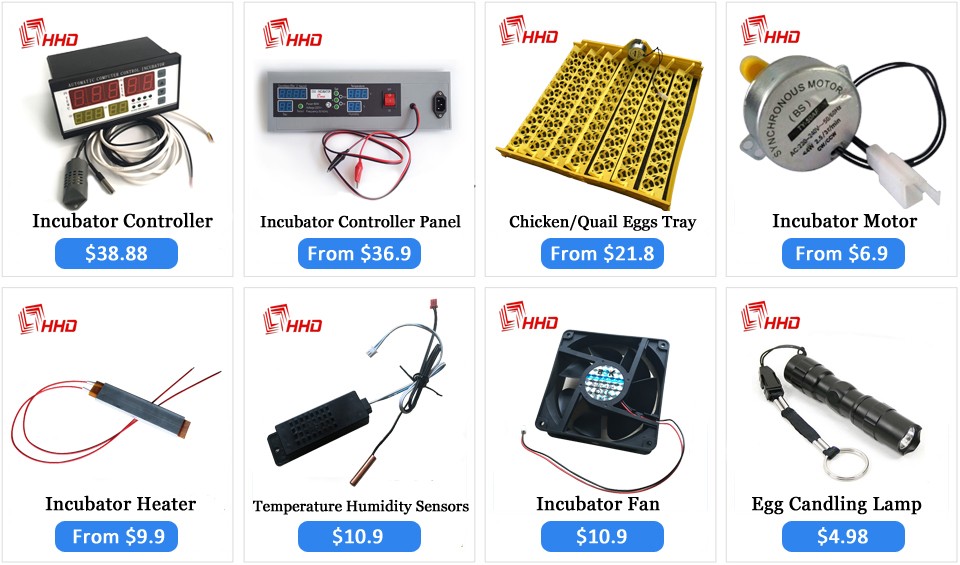
If you want incubator spare parts, click the below picture to know more.
- How to Use -
1. Take off the layer of protective films on the observation windows.
2. Test your incubator to see if it functions properly.
3. Connect the egg turner plug to the control plug inside the egg compartment.
4. Fill one or both water channels depending on local humidity levels.
5. Set the eggs with the pointy side down.
6. Close the lid and switch on the incubator.
7. Press the reset button (left green button) to reset and start the day counter from "0". (this will also rest the egg turning countdown back to 1:59)
8. Keep an eye on the humidity reading and fill the water channels when needed. (normally every 4 days)
9. At day 18 you should remove the tray with the turning mechanism and place the eggs on the top of bottom grid.
10. At the same time it is important to fill both water channels to increase the humidity. (this is very important to ensure that the eggshell are soft enough for the chicks to break through.)
11. You should never open the lid when the chicks start to hatching. if you do,the loss od the humidity will cause the eggshells of the unhatched eggs to dry out and they won't able to break through the egg.
You can also view the top video to know how to use the incubator
↓↓↓ New ↓↓↓
- About Us -


Worry-free return
Product quality protection
Payment protection
Shipping protection
Copyright © 2024 BOSSGOOMALL. All rights reserved
版权所有 宁波全贸信息技术有限公司 浙ICP备12012821号-84