Each item have been tested critically before shipment effected ,We have
build several testing stations specially for CPU ,please buy it with worry-free.
See before installing CPU:
1, remove the original CPU, clean up the dust on the fan and heat sink, clean up the residual heat sink in the original grease, especially hard grease must be thoroughly cleaned, this is very important!
2, in the correct direction into the new CPU, and at the top of the CPU coated with a thin layer of grease. Don't put too much, just can fill the gap between the top of the CPU metal contact and heat sink. The most ideal (in packets we presented silica gel as an example, squeeze appropriate 1/2 grease)
3, put it back to the heat sink, the first finger pressed fins move up and down a few times, so that the inside of the grease evenly spread and exhaust air, then according to the digital sequence tagging screw fins on (or diagonal) gradually tightened, each rotation laps screwed under a screw, not a put a screw in the end, the successive rotation until the fixed balance.
4, if the CPU in the machine after the point is not bright, can use the eraser to wipe the metal contact CPU plate (sometimes CPU floor dust or sweat may contact), or to the motherboard (the motherboard BIOS discharge clearance data). The memory can also be used on no eraser.
Note: for CPU, such as the discovery of CPU temperature is too high, or when the temperature is high and low instability, CPU and memory is not bright, please carefully check the above 4 to check, the vast majority of the problems can be solved.
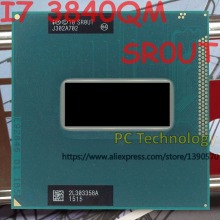
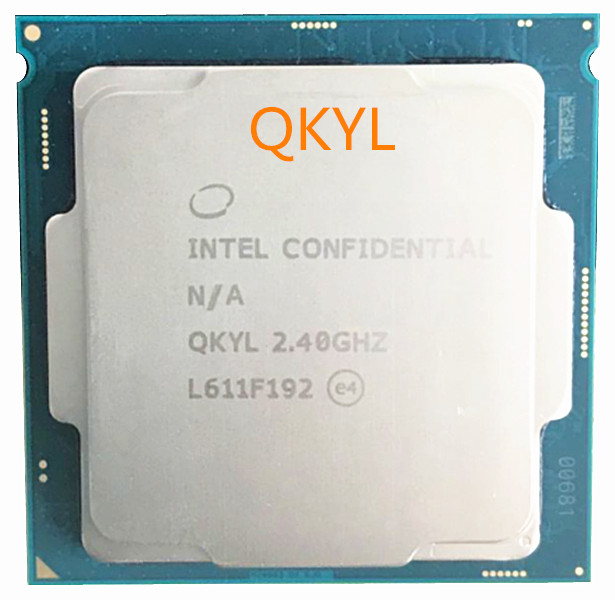
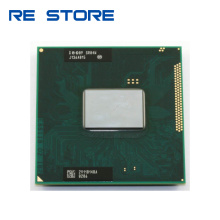
Note:this model is ES edition,not official edition

why choose us?
1:Competitive Price:our company is committed to a computer peripheral accessories product sales, we have the most competitive Price.
2:One-Stop Shopping:We offer all Kinds of computer Parts.
3:Professional service:We have professional team and efficient work flow, which keep us offering the best service for our customers.
4:Tested before shipping;Safety packing box
5:Processor have one year warranty,memory have three years warranty.